How to record audio on MacBook Air 2020?
MacBook Air comes with a built-in microphone You can use it to record your voice, or the sound around you. If you would like to use the built-in microphone, open the “sound settings” in the menu bar. You can then select the option “record sound”.
Once you have found it, click on the drop down menu to select “microphone”. You can then click on “record” to start recording. MacBook Air doesn’t come with a built-in Dictation feature. You can always use an external microphone to record audio. You can use the built-in microphone of your MacBook Air to record high-quality audio.
To use the built-in microphone of MacBook Air, open the Keyboard preferences pane. Go to the Shortcuts tab and click the microphone icon. Now record the sound. You can also use a USB microphone and plug it into your MacBook Air.
If you would like to use the pre-installed microphone of your MacBook Air to record your voice or any sound around you, open the sound settings menu. Go to the input section. You can then select the option “Microphone”. You can also click on the drop down menu to select “record sound”. You can then click on “record” to start recording.

How to record voice on MacBook Air
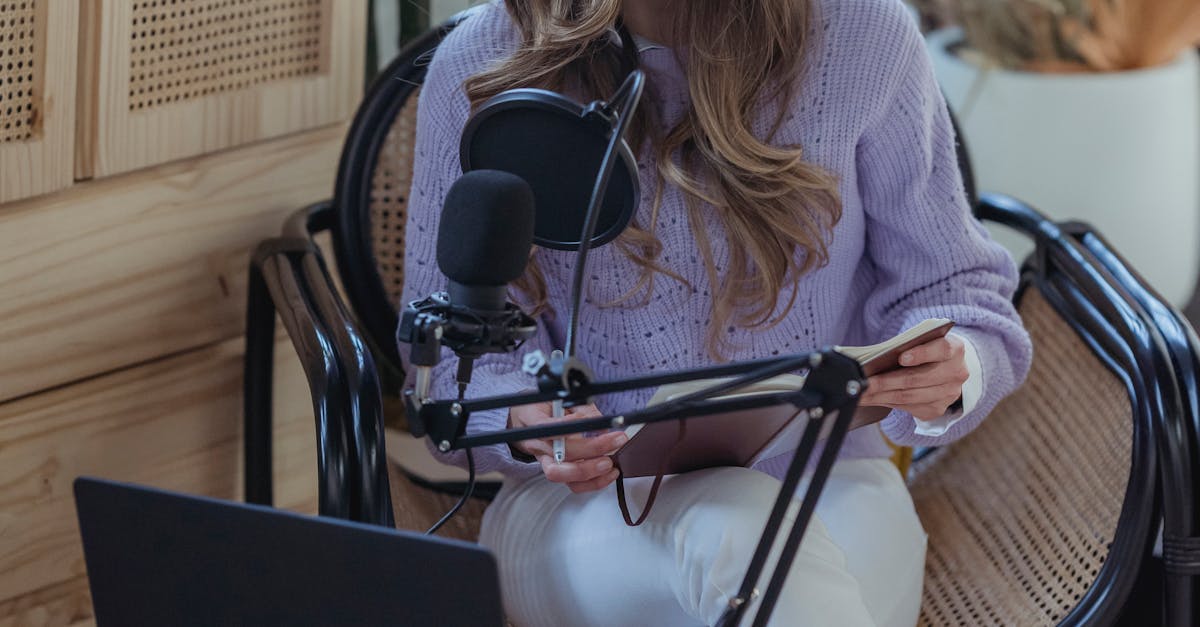
The MacBook Air does not come with any form of built-in microphone . But, it’s not a problem! You can easily record voice in the MacBook Air either through the internal microphone or with a Bluetooth headset.
If you choose to use the internal microphone, you need to plug in the headphone jack of the MacBook Air to the sound output of your sound card. You can then use the sound recording option in the sound preferences menu to record whatever you want. If you just want to record your voice, you don’t need any special software or applications.
Just press the “record” button on your keyboard and speak! Your MacBook Air will automatically record your voice. The file will be saved in the Downloads folder. If you want to use a Bluetooth headset to record your voice, you need to first set up Bluetooth on the MacBook Air.
Go to the Bluetooth menu in the system preferences, find the Bluetooth icon, and click it to start it. In case you can’t find the Bluetooth menu, go to the Keyboard & Mouse section and click the Bluetooth icon.
If you don’t see the Bluetooth menu in the system preferences, go to the Finder, press cmd+shift+G, type Bluetooth,
How to record audio on MacBook Air pro?
There are two ways to record audio on MacBook Air. If you are using an external microphone, you can press the Fn+Spacebar key to open the sound recorder. You can then click on the red record button to start recording. When you are done, press the Fn+Spacebar key to stop recording.
You can then click on the stop button on the sound recorder to save the recorded file. If you are using the internal microphone, you will need to open the Quick Access menu (Cmd Connect your MacBook Air to your TV or monitor using the Thunderbolt 3 connection. Launch QuickTime Player and press the option key.
Go to File menu and then choose New Movie Recording. Now, name your file and click the Choose File button. This will allow you to select the folder where you want to place the video recording. Now, press the Record button. This will start the recording process. When the video recording is complete, press Stop button.
The dialog box will appear. You can either save To record audio on MacBook Air pro, press Command+Spacebar and click the red record button. Now, click the Play button to play the sound. Once the sound is recorded, press Stop to stop recording the sound.
You can then click the Stop button on the sound recorder to save the recorded file.
How to record video on MacBook Air
In order to record video on MacBook Air 2020, you need to use the webcam or the MacBook’s internal microphone. The MacBook’s webcam records videos in 1080p and 30fps. The MacBook’s internal microphone records videos in 720p at 30fps. There are some other options as well, such as 1080p video at 60fps, 4K video at 30fps, and 1080p video at 30fps.
In order to record video on your MacBook Air, you first need to download the free QuickTime Player. Once the download is complete, open the application to locate the video you want to record. Once the video has loaded, press and hold the space bar.
When the keyboard menu appears, press the A button to start recording. The video will begin recording, and you can stop recording whenever you want by pressing the space bar. For MacBook Air, the easiest way to record video is to use the accessibility features built into the operating system.
The image below shows the menu for the accessibility features on MacBook Air. If you hover over the accessibility icon in the menu, a pop-up menu will show up. Choose the “Record Video” option. If you don’t see this menu, press the Esc key and the Shift key at the same time to bring it up.
Once you have this menu open,
How to record voice on MacBook air
If you want to record voice on MacBook air, you can use some of the best voice recorder apps available for macOS, which will allow you to record any sound around you. Here are some of the best voice recorder apps for macOS — free and paid: The MacBook Air comes with the ability to record voice with its built-in microphone. If you are looking to use the MacBook Air as a voice recorder, you can press the Fn+Space key combination while clicking on the MacBook Air icon in the menu bar. The sound level icon will show up. You can adjust the sound level and start recording. If you want to use the MacBook air as a voice recorder, you can press the Fn+Space key combination while clicking on the MacBook Air icon in the menu bar. The sound level icon will show up. You can adjust the sound level and start recording.


