How to record voice on MacBook Pro?
There are many ways to record voice on MacBook. One of the easiest ways is to use the built-in voice recorder. You can press the function key F11 while pressing the spacebar to start the recording The recording will start immediately.
You can stop the recording by pressing the function key F11 again. You can pause it by pressing the spacebar, play it by pressing the spacebar again, or delete the recording by pressing the Esc key. When you are using a MacBook, you can record voice using a built-in voice recorder. However, you need to make sure that the recording is in mono or stereo.
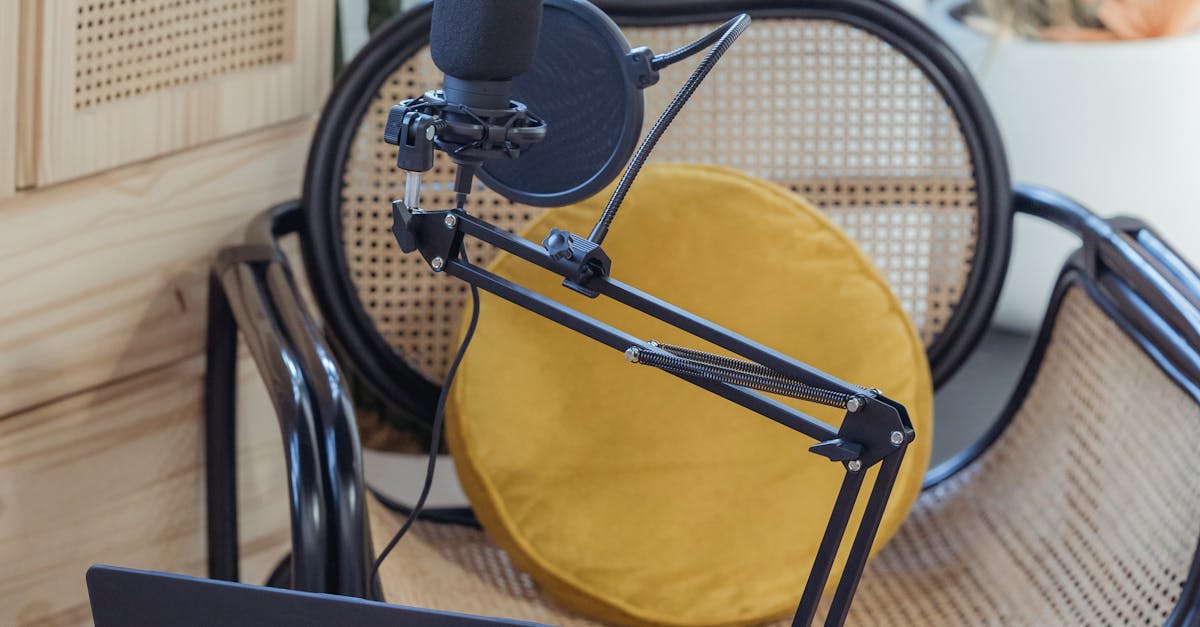
You can also get a better recording using an external microphone. Check out how to record voice on MacBook. To record voice on MacBook Pro, you can use the built-in voice recorder. You can press the function key F11, press and hold the spacebar, and then click the Start button to start the recording.
The recording will start immediately. You can stop the recording by pressing the function key F11 again. You can pause it by pressing the spacebar, play it by pressing the spacebar again, or delete the recording by pressing the Esc key.
When you are using a MacBook,

How to record voice on MacBook Pro ?
Nowadays many people use MacBook, MacBook Pro and other iMacs for work or even for entertainment. It’s a great device for all types of users. One of the things that makes MacBook so incredible is that it comes with pre-installed software for all kinds of tasks.
If you want to record a voice on MacBook, here are some options that you can try. If you use your MacBook for making video calls, you might want to record your voice for future reference. This is especially important for meetings and conferences.
The MacBook does not have a built-in voice recorder, but there are applications you can download to record your voice. One of the best options is Voice Recorder for macOS. This is not the easiest program to use, but it will record your voice and output a file you can play anytime. If you are using MacBook, MacBook Pro or iMac, you can use Zoom Video Chat to record your voice and video.
It’s the easiest way to make video calls. Once you have the Zoom Video Chat installed, go to the menu and click on the “Record” option. You can choose to record an audio call or a video call.
How to record voice on MacBook pro?
MacBooks come with a built-in microphone which is placed on the keyboard. This microphone is very good for making voice notes and dictation. But the quality of the sound is not very good. The sound produced by the microphone will vary depending on the location of the microphone.
A good way to record a clear voice is to use a headset. A headset is very comfortable and convenient to use. If you want to record a voice message on your MacBook pro, you don’t have to use an external microphone accessory. After all, the MacBook comes with a built-in microphone. It’s called a ‘FaceTime’ microphone.
It’s located at the top of your keyboard, and it works great for voice recording. Just press the ‘Space’ key to talk. Your voice will be recorded as a wave file. You can use the ‘FaceTime’ microphone to record voice or voice messages on your MacBook pro. Just press the ‘Space’ key to start talking.
When you press the ‘Space’ key while recording, you can pause and resume your recording.
How to record voice on MacBook pro ?
If you want to record voice on MacBook pro, you can use the built-in software or use an external recorder. If you are using the built-in software, you can use the QuickTime Player. If you are using an external recorder, you can use the GarageBand application.
You can also use the Zoom Player as well, but it will not work with all the sound sources. It is possible to record voice on MacBook pro, but you will need a separate recording application. There are many programs available, but the two most popular and dependable ones are QuickTime and GarageBand. The process of recording voice is very simple.
First, start the QuickTime Player from the Applications folder. In the menu that appears, click on the File menu. Then, choose New Movie Recording. A new window will pop up. You will have to specify the folder in which you want to save the file. Once you have chosen the folder, you will have to name your file.
After that click on the New Movie Recording button. The recording will start immediately.
You can start, pause,
How to record voice on Macbook pro?
Using your MacBook to record voice is pretty easy. The default voice recorder app is called ‘Voice Memos’ and you can access it by swiping down from the top of the screen to bring up the menu. Make sure you have an empty recording window open before starting to record your voice. When you’re done recording press the stop button. You can then convert the audio file to a file that can be shared or saved on your computer. Connecting your microphone to your MacBook is the first step. You can use an external microphone or any microphone built-in to your computer. The built-in microphone is usually located on the keyboard. If you have an external microphone connected to your computer, you will need to use the sound recorder application to start recording. To start recording, press ⌘+Shift+E on your keyboard. From the menu that appears, select the sound recorder application. If you have a MacBook Pro with Retina display, you can use the built-in microphone. Connect your external microphone to the microphone jack of your MacBook. If you want to use the built-in microphone, press ⌘+Shift+E and select the ‘Voice Memos’ application from the menu. The recording window will open. You can start recording by pressing the record button.


